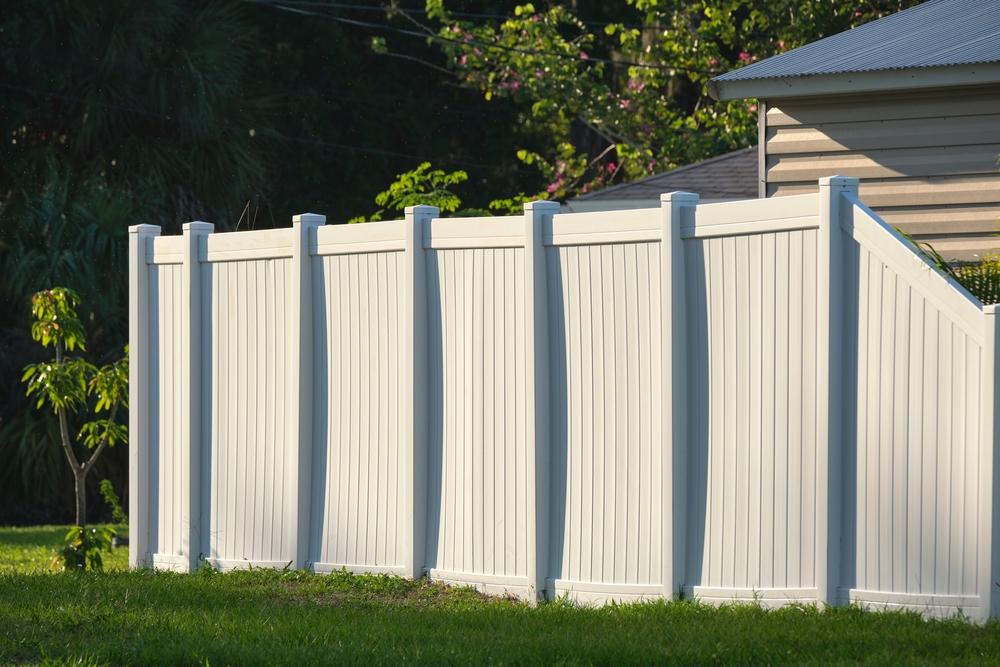
At the bottom of a vinyl fence, you typically do not need to put anything to support or protect the fence. Vinyl fence posts are usually anchored directly into the ground or secured in concrete footings during the installation process, which provides stability and prevents the fence from sagging or leaning.
Here are the typical steps involved in installing a vinyl fence without adding anything at the bottom:
- Dig Fence Post Holes: Fence posts are installed by digging holes at regular intervals along the fence line. The depth and diameter of the holes will depend on the specific design and height of the fence, as well as the local soil and climate conditions.
- Set Fence Posts: After digging the holes, the fence posts are inserted into the holes and secured in place. In some cases, concrete may be used to anchor the posts, ensuring stability and preventing movement.
- Backfill Holes: The holes are backfilled with soil or concrete, and the posts are checked for plumb and level. Properly anchored and aligned posts are essential for the structural integrity of the fence.
- Attach Fence Panels: Once the posts are secure, the vinyl fence panels are attached to the posts using brackets, screws, or other hardware specified by the manufacturer’s instructions.
- Cap and Trim: Some vinyl fences may have decorative caps and trim pieces that are installed on top of the posts and along the horizontal rails for added aesthetics.
In most cases, there is no need to add additional support or materials at the bottom of a vinyl fence. The fence posts and their installation provide the necessary foundation and stability for the fence. Follow the manufacturer’s installation guidelines and consult with a professional installer if you have specific concerns or questions about your fence project. Additionally, proper maintenance and periodic inspections of your vinyl fence can help ensure its long-term stability and performance.


