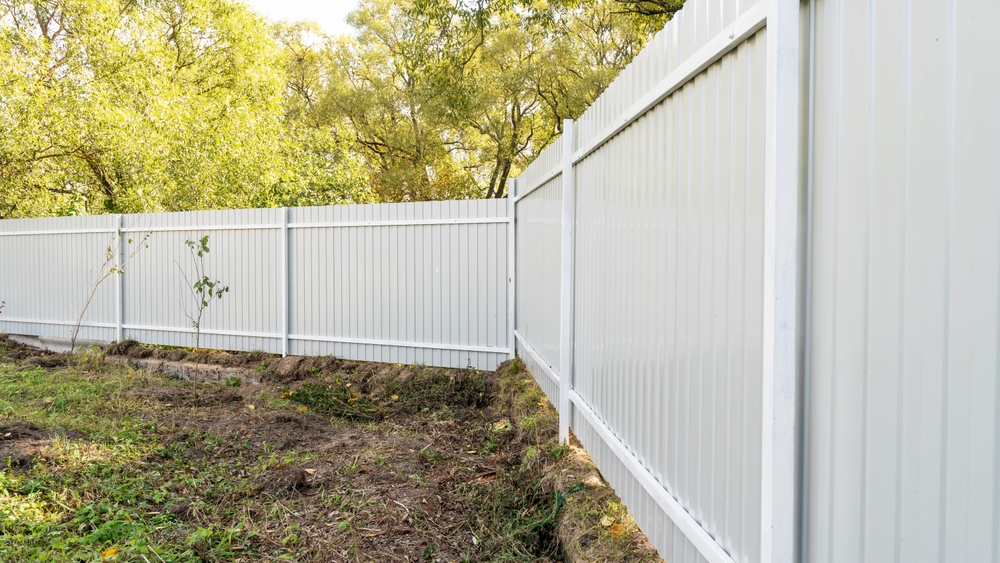
Yes, it is possible to install a vinyl fence by yourself if you have the necessary tools, materials, and some DIY skills. Installing a vinyl fence is generally considered a moderately challenging DIY project that can be accomplished with careful planning and attention to detail. Here are the general steps for installing a vinyl fence on your own:
Materials and Tools Needed:
- Vinyl fence panels
- Vinyl fence posts
- Concrete and gravel (for setting posts, if applicable)
- Gate (if needed)
- Vinyl fence gates and hardware
- Tape measure
- Level
- Post hole digger or auger (for digging holes, if applicable)
- Concrete mix (if setting posts in concrete)
- Saw (for cutting fence sections and posts)
- Screws or brackets
- Screwdriver or drill
- Gate latch and hinges (if installing a gate)
- String line
- Shovel
- Safety gear (gloves, safety glasses, etc.)
Installation Steps:
- Planning: Determine the layout of your fence, including the location of the fence posts, gate(s), and any corners or transitions. Check local building codes and obtain any necessary permits.
- Marking and Digging Holes: Mark the locations for your fence posts, ensuring that they are evenly spaced and in a straight line. Dig the post holes to the appropriate depth and diameter, typically following local codes and the manufacturer’s recommendations. In some cases, posts are set in concrete; in others, they may be placed in a bed of gravel.
- Setting Posts: If you are using concrete, set the posts in the holes with concrete mix. Ensure that the posts are level and plumb using a level and string line for reference. Allow the concrete to cure.
- Assembling Panels: Assemble the vinyl fence panels according to the manufacturer’s instructions. Typically, this involves attaching the pickets to the rails. Cut panels to size if needed to fit within the space between posts.
- Attaching Panels: Attach the assembled fence panels to the posts using screws or brackets provided by the manufacturer. Ensure that the panels are level and spaced evenly.
- Installing Gates: If you have a gate, install it according to the manufacturer’s instructions. Attach gate hinges to the gate post and gate, and install the gate latch.
- Checking Alignment: Check the alignment and level of the fence panels and gates. Make any necessary adjustments to ensure a straight and level installation.
- Secure Panels: Secure the fence panels to the posts with screws or brackets, and ensure that all connections are tight and secure.
- Clean Up: Remove any debris from the installation area, and clean the fence panels if needed.
- Inspect and Maintain: Periodically inspect your vinyl fence for any loose components or signs of wear, and make any necessary repairs or adjustments.
While it is possible to install a vinyl fence on your own, it’s important to plan carefully, follow the manufacturer’s instructions, and take your time to ensure a well-constructed and durable fence. If you are not comfortable with the installation process, or if your fence project is particularly large or complex, consider hiring a professional fence installer to ensure a successful and hassle-free installation.


