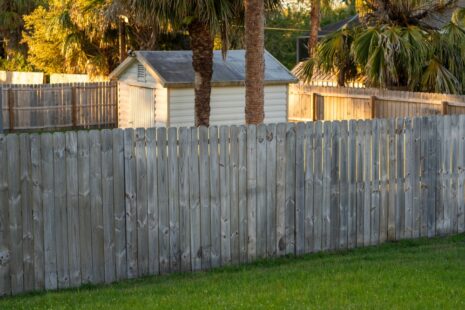
Adding a gate to an existing vinyl fence is a common upgrade that allows easier access to your yard, garden, or walkway. The process usually involves removing a section of the fence, installing strong gate posts, and attaching the gate with proper hinges and hardware. With careful planning and the right materials, a gate can blend seamlessly into the existing fence structure.
Proper support and alignment are important so the gate opens smoothly and remains stable over time.
Choose The Right Gate Size
Measure The Opening
Start by deciding where the gate will be placed along the fence line. Measure the width needed for comfortable entry. Gates for walkways are often around three to four feet wide, though wider gates may be used for equipment access.
Select A Matching Gate
Choose a vinyl gate that matches the style and height of the existing fence. Matching panels help maintain a consistent appearance.
Remove A Section Of The Fence
Detach Fence Panels
The section of fence where the gate will be installed must be removed. Carefully detach the panel or rails between the posts in that area.
Prepare The Opening
After removing the panel, ensure the space is large enough for the gate and hardware.
Install Gate Posts
Use Strong Support Posts
Gate posts must be stronger than regular fence posts because they support the weight of the gate. Many vinyl gate systems use reinforced posts with metal inserts for extra strength.
Secure Posts With Concrete
Set the posts deep in the ground and secure them with concrete. Properly anchored posts help prevent the gate from sagging.
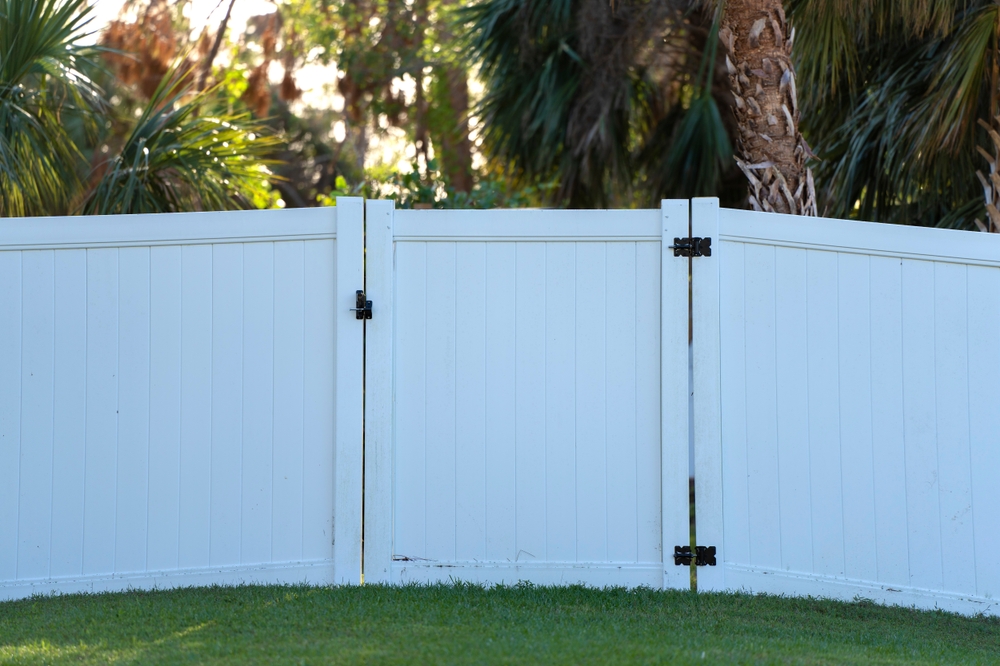
Attach The Gate Hinges
Install Heavy Duty Hinges
Attach the hinges to the gate and secure them to the gate post. Strong hinges allow the gate to swing smoothly and support the weight of the panel.
Check Alignment
Ensure the gate is level and aligned before tightening all hardware.
Add Latch And Hardware
Install Gate Latch
A latch keeps the gate securely closed. Many vinyl gates use simple latch systems that attach to the opposite post.
Test Gate Movement
Open and close the gate several times to make sure it swings freely and lines up properly with the latch.